Monday, 5 October 2015

Maya: Texturing - Common Shaders

Exploring shades-textures in Maya exercise - playing with light contrast, opaque vs. transparent, appropriate colours for anxious robot context:
Probably won't be able to see textures in real life the same way again - now taking notice of materials I pass through campus building, how light is reflected off objects like the banisters, bins and lift doors:


Complete Anxious Robots in Maya - Ceramic, Steel, Silver, Bronze, Glass, Glow onto Object and Glow without Object:
 
 
Complete Flow Chart - depicting varying textures used - e.g. light bouncing reconfiguration, chrome effect onto colours, etc.:


 Examples of textures in construction - Thick Blue, Dark Silver [Chrome], White Silver with construction map in head's reflection, 'invisible' robot in rendering development of Glass robot:
 

Animation & Character: Zoetrope & Flash Exercises

Exploring time sequencing [24 frames per second] with zoetrope exercise - one of foundations of science of animation. Drawing sets of pictures on long strand of paper of swaying red ball and even adding stretching and speed lines to strengthen illusion of movement, then wrapping around small zoetrope:


Filming small zoetrope in action:


Wanted to create quick concept art/adaptation of zoetrope exercise, capturing spirit of movement I had created - focus on speed and action lines, shooting and swaying downwards, playing with facial expressions and typeface, etc:


First exercise in Adobe Flash, with features similar to Photoshop - focus on brushstroke and shape features: Big advantage of smoothening brushstrokes to create more swaying and unified movement, and was careful in placing strokes and right locations to record speeding up and slowing down. Quite more difficult, however, for movement of shape - quite more labour-intensive when stretching and placing in different locations - therefore, more proud of brushstroke exercises than pink square:

Friday, 2 October 2015

Maya: Block Modelling (Ray Gun)

Ray Gun Body:
Excited to discover that so many simple polygon shapes [cube, sphere, torus, etc.] can create such complex compartments, through stretching and distortion, smoothening, edge and vertex distortion, etc. Probably won't be able to see real-life 3D objects the same way again - e.g. discovering bevels on table edges, roofs on houses, etc..
Major compartments of ray gun from cubes, spheres and tori - major processes being resizing, duplication, stretching, sprouting, smoothening, etc.
At times, still quite difficult to recognize shape I'm looking for in wireframe amongst other shapes within same tight location. With some particular shapes, deleting one of its faces so smoothened shape won't close in on itself:


Ray Gun Handle:
Distorting and stretching simple cube, plus using Edge Tool to draw more realistic grip [stretching in-and-out pattern]. Including bevel after smoothening so handle won't look too mushy:


Final Product:
Duplicating featured spheres on one side [Shift-D] to create truly believable ray gun and not just for show off on one particular angle. Had in my mind drawing gun's fin as if fish species [perhaps can evolve such theme in future]. Adding downward direction of light, then colouring in render with Toon's Circle Highlight [more cel-shaded light contrast] - shades of red, blue/violet and orange:

 
Final Product - Render View [Production Quality]:
Really like turnout of ray gun: having perhaps rubbery and sliding but strong and gripping feel, judging by chosen colours and Toon light contrast, and perhaps also direction of spotlight creates more heating dramatic effect:


Thursday, 1 October 2015

Maya: Modelling in 3D Software

Four Egg Cups - NURBS, Polygon, Sub-D & Poly-Smooth:

Really excited to play around with new tools in Autodesk Maya whilst listening to tutorial video:
Making use of CV Curve tool and Loft to connect two curves together, then use of Move/Transform tools to reconfigure vertices and bends:


Using CV Curve tool on Side view to construct basis of NURBS Egg Cup, then Revolve to duplicate in full 360 degrees:


Polygon Egg Cup, experimenting with Polygon and Sub-D modes of cube, whilst stretching properties:


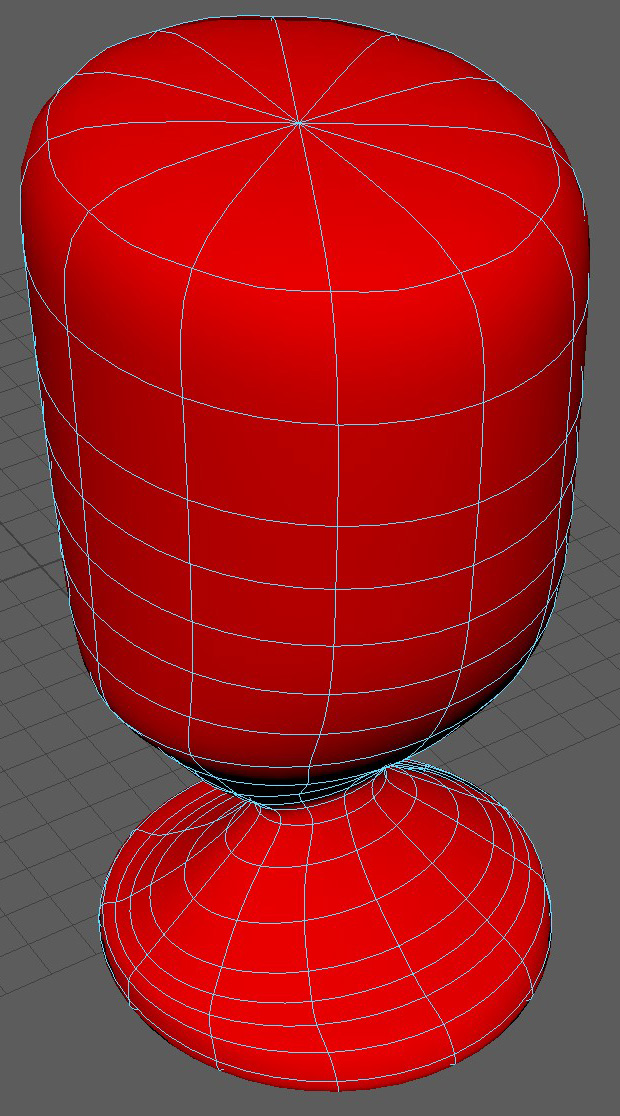
Stretching vertices from original polygon sphere [fewer faces resembling Chinese Lantern shape], then viewing in Sub-D:
 
 
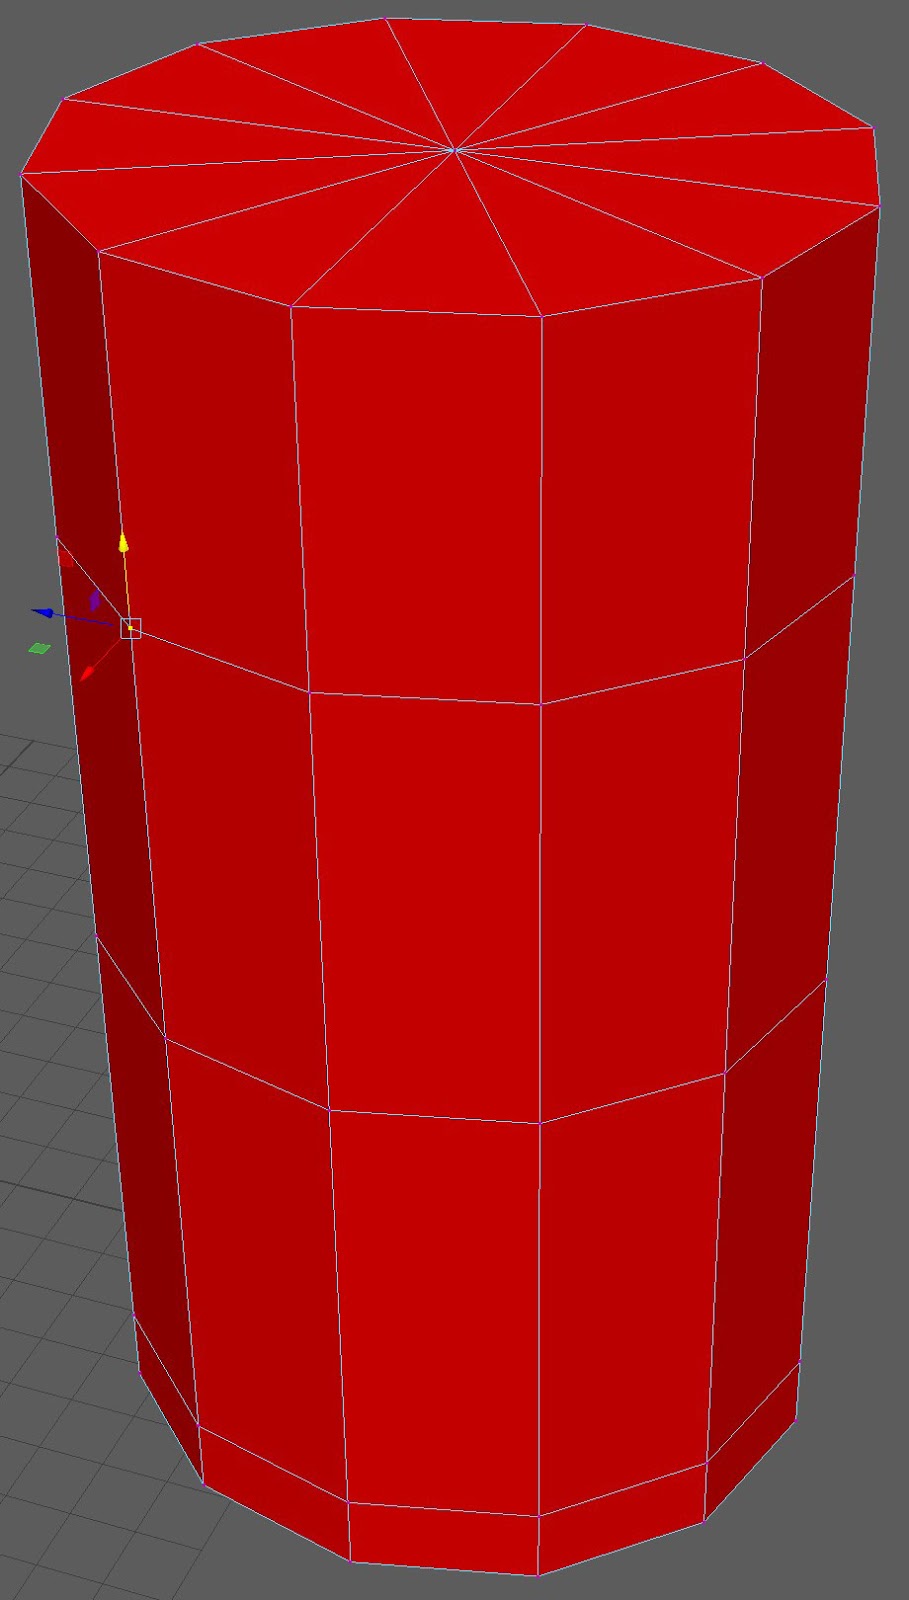
Constructing main cylinder, reducing faces and then viewing in Sub-D - basis of three of four egg cups: 


Using Insert Edge Loop Tool, to increase detail in curves from stand to cup - later seeing result and realizing I may have missed step in creating proper round circle, rather than stretching in one direction [quite difficult to know which vertices to stretch in complex wireframe, and quite confusing Move controls]:


Using Extrude to push down centre on top to construct inside of cup:
 

Exploring difference between Sub-D Egg Cup and Poly-Smooth Egg Cup - though both seem same in original state, stretching vertices to discover increase cubic detail in stretching evidence:


After my first attempt at four egg cups, was really concerned on where I went wrong to construct quite uncomfortably oval-shaped egg cups with quite small holes at top:

 
Original Four Egg Cups - NURBS, Polygon, Sub-D & Poly-Smooth:
 
Had some help from student to reconstruct three egg cups: where I went wrong was stretching the inserted edge loops in one direction, rather than growing all-round [quite similar-looking controls]. Also soon realized cups need to have bulge at hand grasp area and gradually curve slightly to top, rather than resembling curving cuboid:
 
 
Reconfigured Four Egg Cups - NURBS, Polygon, Sub-D & Poly-Smooth:
 
 
Reconfigured Four Egg Cups with Nets: